認証まわりのセットアップ
Google Developer Consoleで適当なプロジェクトを作って、OAuth 2.0 クライアント IDを発行する。
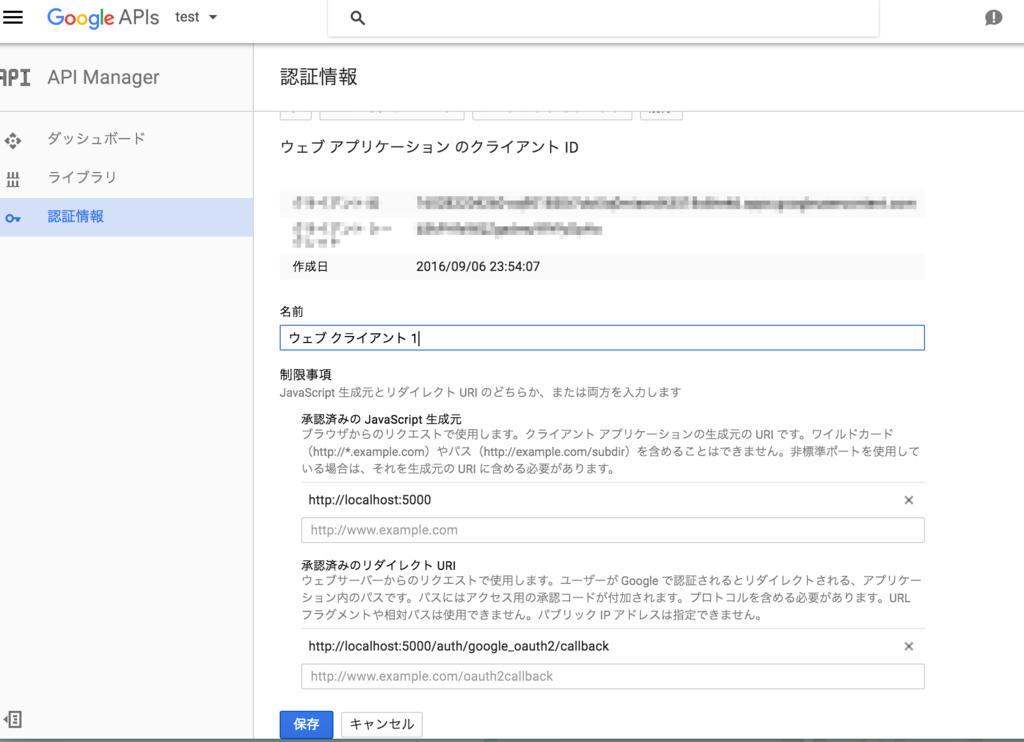
- 承認済みの JavaScript 生成元:
http://localhost:5000
- 承認済みのリダイレクト URI:
http://localhost:5000/auth/google_oauth2/callback
.envファイルに認証情報を書いておく。
echo 'GOOGLE_CLIENT_ID=...' >> .env
echo 'GOOGLE_CLIENT_SECRET=...' >> .env
echo 'GOOGLE_DOMAIN=...' >> .env # If you restrict to use Google Apps doma
セットアップ
まず、bundle install。
$ bundle install
Using rake 11.2.2
...
Bundle complete! 31 Gemfile dependencies, 113 gems now installed.
Use `bundle show [gemname]` to see where a bundled gem is installed.
MySQLを起動。
$ mysql.server start
Starting MySQL
.. SUCCESS!
Redisも起動。
$ redis-server &
[1] 9337
...
[9337] 15 Sep 19:14:36.797 * The server is now ready to accept connections on port 6379
データベースをセットアップ。
]$ rake db:create
[DEPRECATION] `last_comment` is deprecated.  Please use `last_description` instead.
[DEPRECATION] `last_comment` is deprecated.  Please use `last_description` instead.
[DEPRECATION] `last_comment` is deprecated.  Please use `last_description` instead.
$ rake db:migrate
...
== 20160914063913 AddCommentIndex: migrated (0.0592s) =========================
サーバを起動。
$ bundle exec foreman start -f Procfile.docker
...
19:28:49 web.1                | * Listening on tcp://0.0.0.0:5000
19:28:49 web.1                | Use Ctrl-C to stop```
ユーザのセットアップ
http://localhost:5000/にアクセスすると、Googleアカウントで認証される。
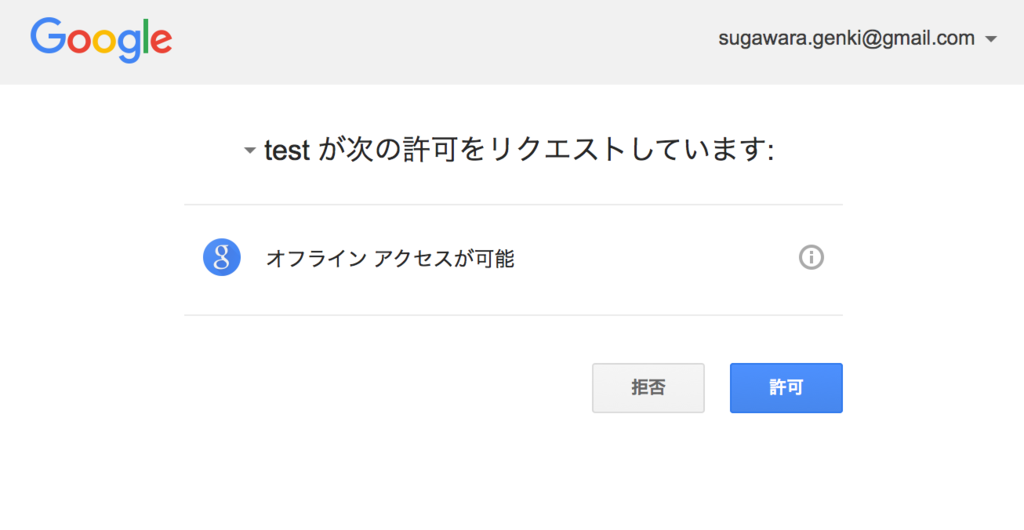
ただし認証直後はユーザは非アクティブ。

なので、DBをいじってアクティベートする。
$ bundle exec rails runner 'User.first.update!(active: true)'
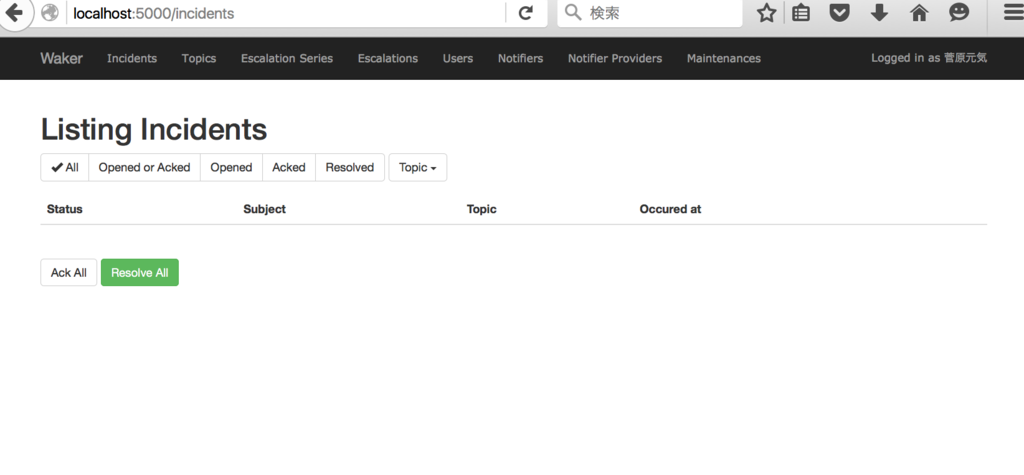
再度アクセスすると、トップ画面が表示される。
Wakerのセットアップ
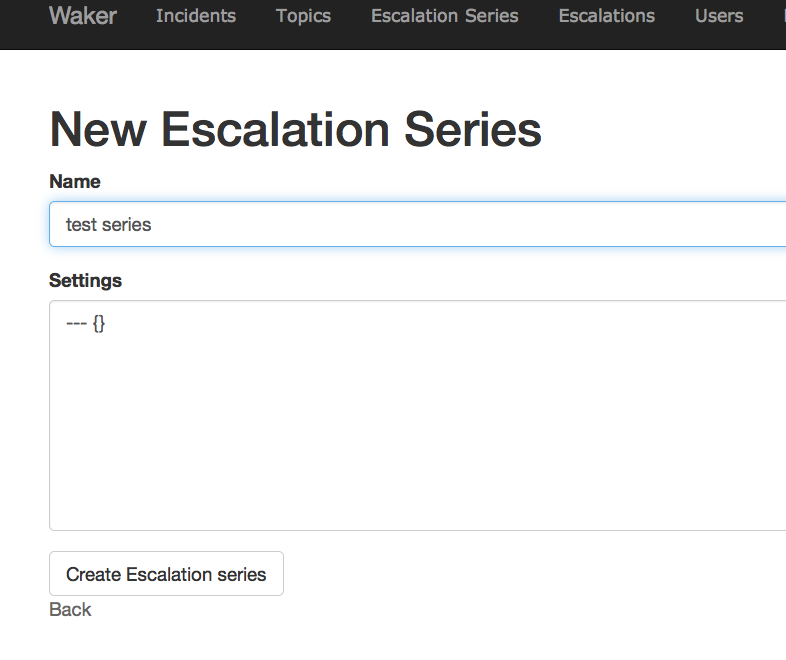
Escalation Seriesを作る
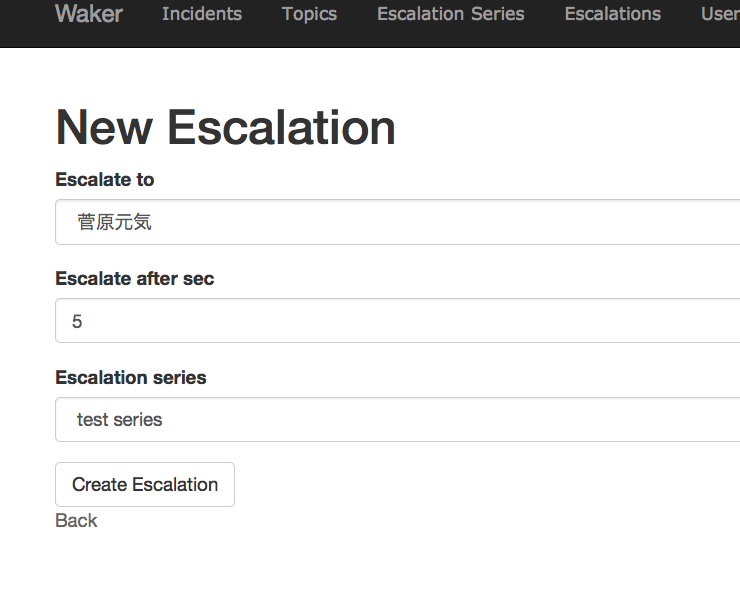
Escalationを作る
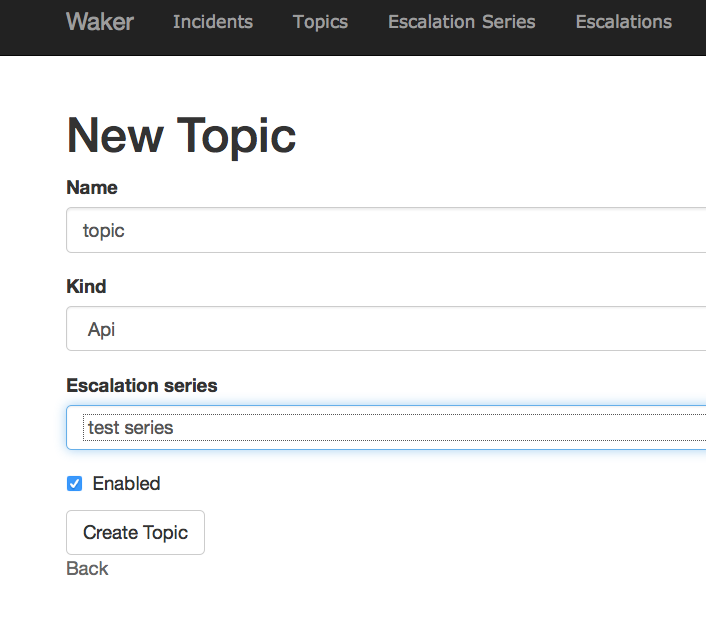
Topicを作る
Notifier Providerを作る
今回はRailsLogger。
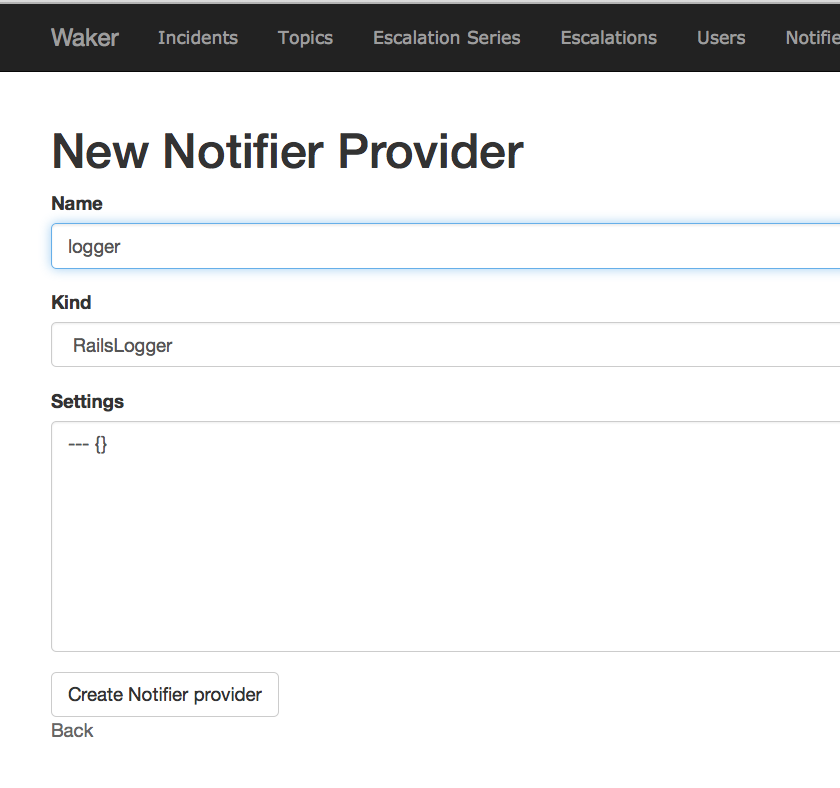
どういうProviderがあって、どういう設定値を必要としているかは、notifier_provider.rbを見るとよい。
Notifierを作る
今回はRailsLoggerなので、詳細な設定とユーザへのひも付けは不要。

動作確認
$ curl -s -XPOST "localhost:5000/topics/1/mailgun.json" -d 'subject=foo&body-plain=bar'
{}
するとIncidentが作成されて

ログの方に(わかりにくいけど)
Notification: opened
と出力される。 default.text.erbをいじれば、もう少し詳細な情報を出力できる。
MailgunからIncidentを作る
Routeのとこで

こんな感じでStore and notify設定してMailgun宛てにメール投げれば、Incidentされる…はず。
IncidentのイベントをSlackに通知する
Incoming Webhookを作る
適当にIncoming Webhookを作る。

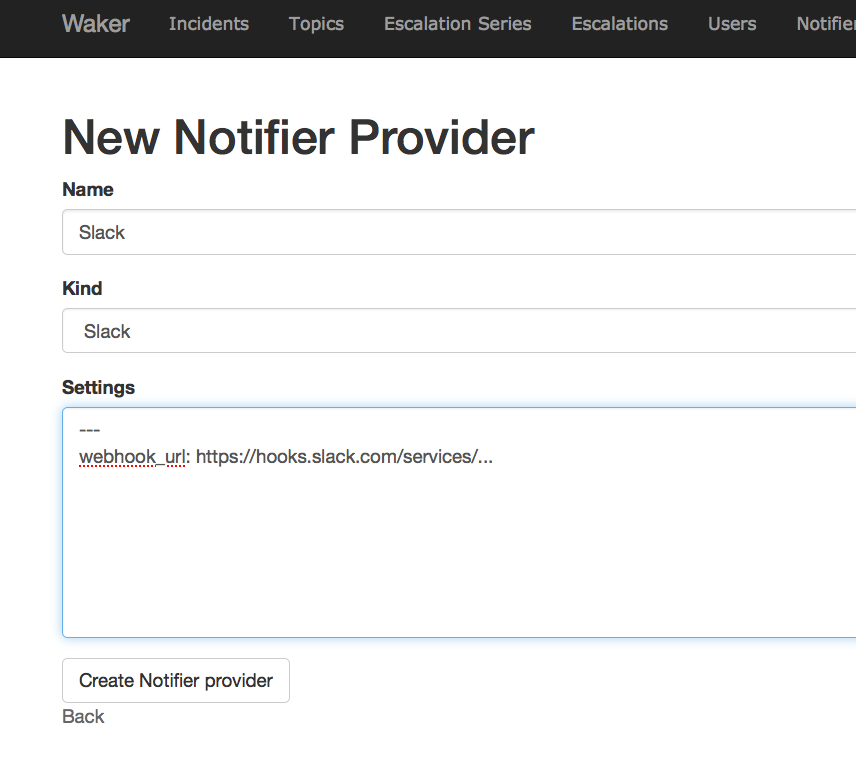
Notifier Providerを作る
Notifierを作る

動作確認
curlでIncidentを作ってみる。
 curl -XPOST "localhost:5000/topics/1/mailgun.json" -d 'subject=hello&body-plain=world'
{}
Slackに通知が来る。
